Mama Lane Cooks
Food from My Kitchen
Christmas is Coming

Does your family have an Elf on the Shelf? We do and his name is Jerry the Elf…he is a little naughty and nice. He’s thrown snowball fights in the house, left trails of chocolate kisses, painted red noses of the kids and even toilet papered the bathroom before.
If you have little ones I highly suggest incorporating Elf on the Shelf in your family traditions.
Merry Christmas from My Family

Every Thanksgiving our family takes our annual holiday photo and every year I look at the photo and can’t believe the blessings that God has provided us. Love, sacrifices, courage, strength, patience, healthy children and a house full of joy- that is what I reflect upon.
I am thankful for my family and the life we’ve built together through the ups and downs. I am thankful that God blessed me with two very spirited children that test my limits at times and are teaching me to be a more patient person. I am thankful for the love and support of my husband through 10 years, he makes we want to be a better person and is my best friend!
The holidays are all about family, friends and being thankful for the blessings that God provides in our lives. I hope that this season your lives are filled with a joyous spirit and a table full of tasty homemade creations.
Here’s a special recipe from my family in Texas that is always found on the Baldwin Christmas table.
Texas Pecan Pie
3 eggs
2/3 cups sugar
1/3 teaspoon salt
1/3 C butter
1 C. Syrup (1/2 dark and 1/2 white Karo syrup)
1 teaspoon vanilla
Beat the eggs well, add sugar gradually, 1/3 tsp. Salt, melted butter, add syrup and vanilla. Do not mix hard for a long time or mixture will become foamy. Pour onto unbaked pie crust. Sprinkle with whole pecans (about 1 C.) Bake at 375 degrees until nicely set and browned. The pie will be a little jiggly in the middle when you take it out.
My Favorite Holiday Treats
 This is my favorite time of year! It’s the time of year that wonderfully delicious goodies are baked for your friends and neighbors.
There are three items that are a MUST on my Favorite Treat List. First, my mother’s Pumpkin Bread. It’s moist, flavorful and made with real pumpkin. Did you know that most of the canned pumpkin you purchase in the stores is in fact squash, not real pumpkin. My father grows amazing French pumpkins, which makes an excellent puree. If he has a bad year in the garden we just turn to other local farmers or the farmers market for pumpkins for processing.
Second on my list is Pumpkin Pie- it’s classic and never goes out of style. I don’t care how many different recipes you will find for Pumpkin Pie, a good ole-fashioned recipe is always a crowd pleaser. Again, use real pumpkin for this recipe and really taste the difference.
PROCESSING PUMPKINS
(Processing pumpkins in the oven is very simple. Just split them in half and place pulp side down in a large pan with about an inch of water. Bake at 400 degrees until the pumpkin skin is dark brown and pulp is soft. Let cool, then remove seeds and scoop out the pulp. Puree in a food processor and freeze in ziplock bags. I always measure out 2 cups, as most of my pumpkin recipes call for 2 cups of puree.)
Lastly, no holiday treat list is complete without rich, chocolate fudge. However, I’m not a fan of the kind of fudge that makes you pucker up with richness, I prefer a milk chocolate fudge. My mother’s is just that and freezes very well, which makes it easy for you to make ahead and then cut into squares for your holiday gift baskets this season.
Merry Christmas to yours!
Baldwin Pumpkin Bread
3 C. Sugar
3 1/2 C. Flour
1 C. Oil (1/2 vegetable, 1/2 sunflower oil)
2/3 C. Water
2 cups Pumpkin
4 eggs well beaten
1 teaspoons salt
2 teaspoons soda
1 teaspoon nutmeg (1/2 teaspoon grated nutmeg)
1 1/2 teaspoons cinnamon (1 teaspoon grated cinnamon)
Mix well about 50 strokes. Stir in nuts (I like walnuts). Fill in bread pan half full and bake at 350 degrees for about 1 hour.
Pumpkin Pie
This recipe makes 2 small 8 inch pies or one large pie in 9.5 inch pie plate.
Mix Together:
2 Eggs
1/2 teaspoon Salt
1 teaspoon Cinnamon
1/2 teaspoon Ginger
1/4 teaspoon Nutmeg
1 1/2 C. Sugar
1 1/2 C. Fresh Pumpkin (key to making this pie the best it can be)
2 C. milk (1 5 oz can of evaporated milk fill rest with milk)
Mix well. Bake at 425 degrees for 15 minutes, then turn oven down to 350 degrees. It will be done when you can insert a knife into the pie and the knife comes out clean.
Baldwin’s Fantasy Fudge
By my mother
4 cups white sugar
1 tall can of condensed milk (12 oz)
2 sticks of butter
 On medium-high and in a large pot, cook and stir constantly, until mixture forms a soft ball. Best way to do this is with a candy thermometer. But, be sure and continue to stir this all the way through the soft ball stage.
When a soft ball forms, remove from heat and add:
For milk chocolate fudge, (add 12 oz. of chocolate chips)
For richer, darker fudge, (add ¾ of a 24 oz. of chocolate chips)

40 marshmallows
2 cups of nuts of your choice (pecans are the very best though)
1 tsp. vanilla
Fold mixture, until all dissolved. Cool fudge in a buttered 13×9 dish. You can freeze the fudge as well.
Meatloaf Made With Local Love
When I think of meatloaf I’m reminded of that mystery meat served in school lunches. Remember that stuff that when you walked into your school in the morning you could smell it cooking. And, that aroma would linger all day long in the halls.
That experience at school must have scarred me for life because I never ate my mother’s meatloaf and I always brought my lunch to school on meatloaf day.
Everyone always raved about mom’s meatloaf, but I would refuse to try it. It wasn’t until my son Caston was born that I actually tried her meatloaf creation. I remember the day so well. Our son was only about a month old and I was searching through the freezer for a meal. (My mother and I made a lot of frozen meals so life would be easy for awhile for this first time mommy). I saw meatloaf and said, “Why not?”
My mother made a lot of meatloaf and froze portions enough for Charlie and I. (She’s a GEM…a true GEM!) Mom knew how much Charlie LOVED meatloaf and that I never made it (because of my mystery meat schoolyard scare). Again, she’s a GEM and a heck of a mother-in-law.
That night my husband and I enjoyed in mom’s family meatloaf…and for the first time ever – I devoured the delicious meal.
Over the past couple years I’ve tried cooking meatloaf many ways, but I have to say that my favorite is a mixture of ground pork and beef.
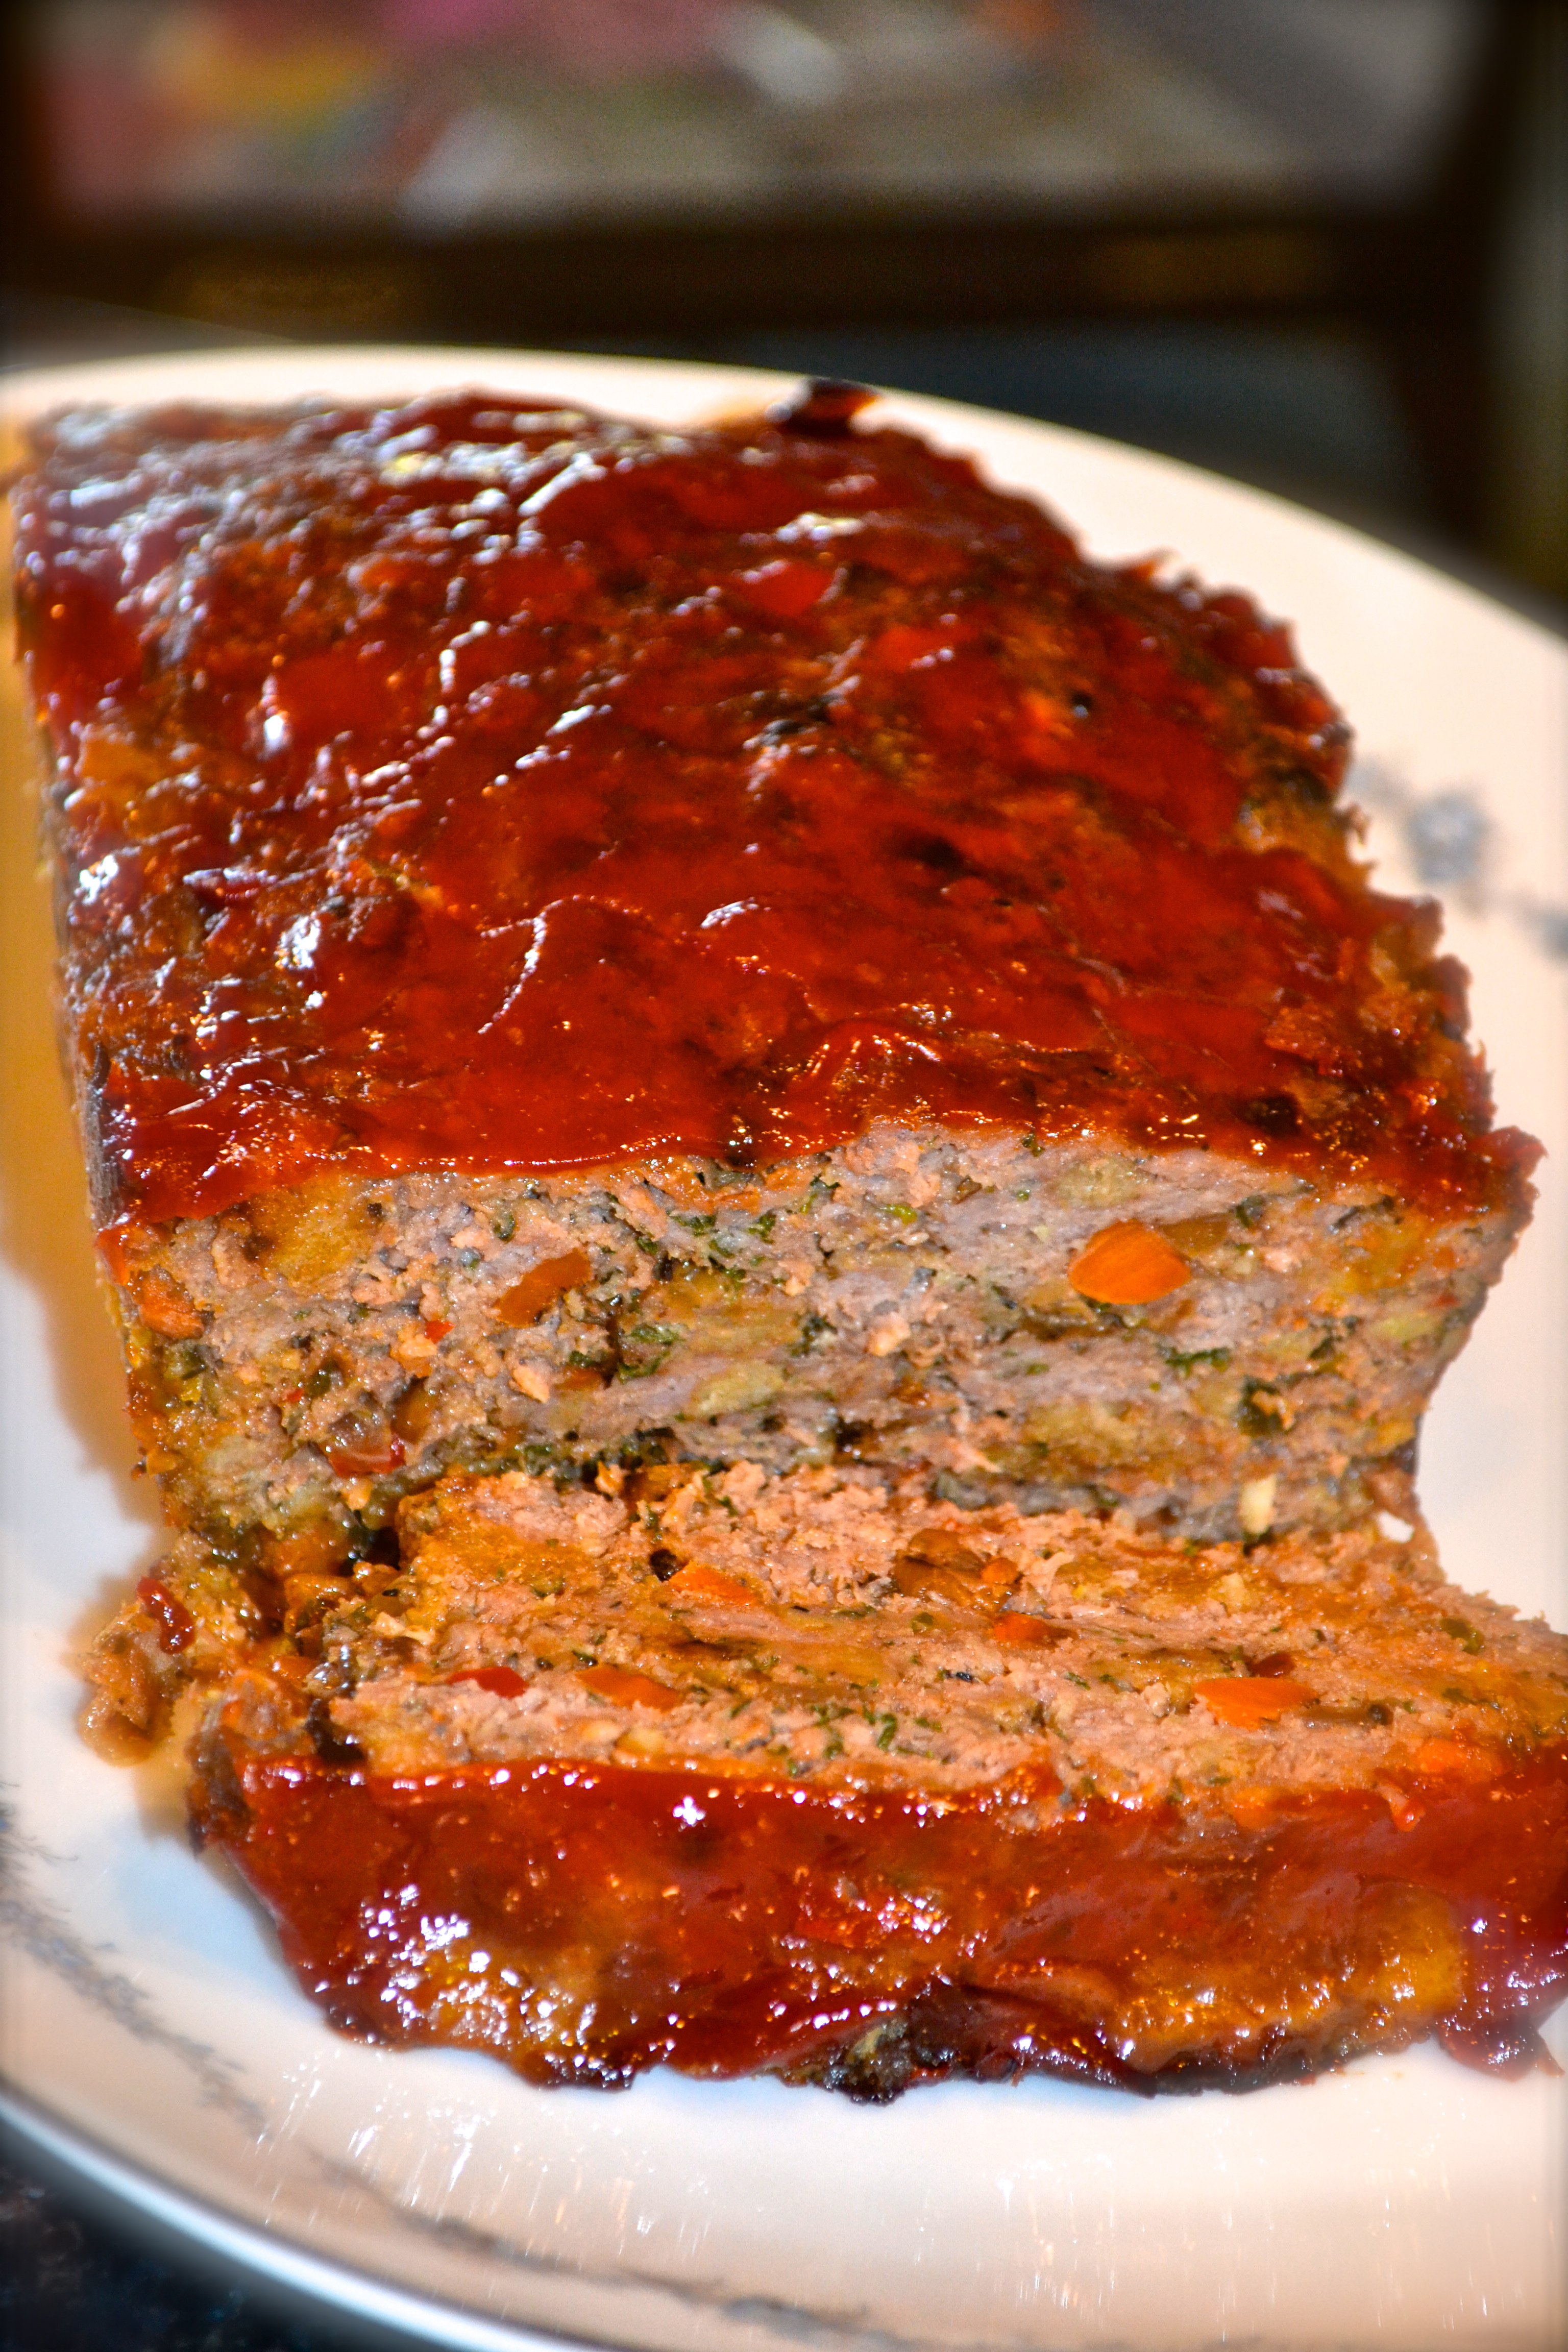
Here is my own little meatloaf creation made with lots of local goodies from the local farmers market.
Meatloaf
2 Tbsp unsalted butter
1 cup of minced red onion
1 carrot, minced
1 celery rib, minced
1 Tbsp minced garlic
1/2 cup of minced green onion, including tops
2 teaspoon salt
1/2 teaspoon freshly ground black pepper
1/2 teaspoon thyme
1/2 teaspoon liquid smoke
2 teaspoons Worcestershire sauce
1 cup ketchup
1 pound of ground beef (chuck)
1 pound of Italian ground pork sausage
1 cup fresh bread crumbs
2 large eggs, beaten
1/2 cup minced fresh parsley leaves
Preheat oven to 350° F. In a large skillet melt butter and add onion, celery, carrot, garlic and green onions. Stir and cook for 6 minutes. Stir again and cook until the veggies are tender. Add pepper, salt, 2/3 cup ketchup, thyme, Worcestershire sauce and liquid smoke. Cook for another minute and remove from heat.
In a separate bowl combine beef, Italian pork sausage, eggs, fresh breadcrumbs and cooked veggies. Mix with your hands and combine well. Then add fresh parsley and toss.
Coat a loaf pan with a little butter and press mixture into the pan. Cover the top with about 1/3 cup of ketcup. Bake for 55 minutes. Remove and let set for about 30 minutes. Slice, serve and enjoy!
A Daddy’s Love

Looking back on photos recently I came across this one taken by a friend of ours in Arkansas. He snapped a special moment of my guys that I still adore!
Caston was almost 2 years of age in this pic…I loved those plump cheeks he had at this age.
I also love the way his daddy is looking at him. Strong, protective and loving- all at the same time. That’s my husband, he’s an amazing man who does so very much for our family. He is our rock. He keeps me grounded and is my biggest cheerleader.
He can swing a light saber with one hand and play castle with Lil Miss with the other hand. He’s one multi-talented man, let me tell you.
I thank him for his love, compassion and for giving me two beautiful and spirited little ones that have changed my life completely.
Happy Birthday My Love!
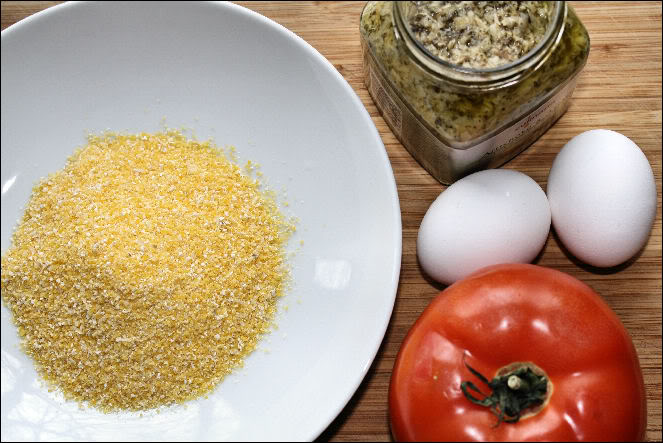
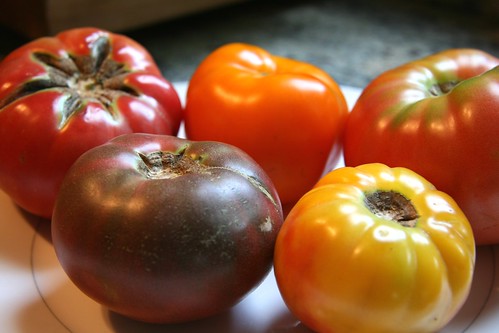
Creamy Polenta-Stuffed Heirloom Tomatoes
You might think farmers’ market season is winding down, but it’s really just getting started. The season is changing and with it you can find a new batch of crops to choose from, plus traditional veggies like –heirloom tomatoes!
My family has grown heirlooms in our family garden since I was a child and there is nothing tastier than a homegrown mater. Heirlooms (or heritage tomatoes) are non-hybrid tomatoes. The definition of the use of the word heirloom to describe plants is highly debated, according to Wikipedia. I consider a true heirloom a cultivar that has been nurtured, selected, and handed down from one family member to another for many generations.
There are SO many varieties to choose from when it comes to heirloom tomatoes…endless possibilities. My favorites are Cherokee Purple and Green Zebra.
If you have never had the opportunity to taste the freshness of heirloom tomatoes, I highly suggest you visit your local market before the end of the season and give it a try.
Creamy Polenta-Stuffed Heirloom Tomatoes
adapted from Fine Cooking
1 Tbs. butter
1 Tbs. diced shallot
1/2 tsp. minced garlic
3 cups lower-salt chicken broth
1/2 cup heavy cream1 cup polenta (such as Bob’s Red Mill brand)
1/2 Tbs. chopped fresh thyme
1/2 tsp. chopped fresh rosemary
1/4 cup plus
2 Tbs. freshly grated Parmigiano Reggiano
Kosher salt and freshly ground black pepper
8 large Roma-style heirloom tomatoes
2 Tbs. chopped parsley
In a medium saucepan over medium heat, melt the butter. Add the shallot and garlic and cook, stirring constantly, about 2 minutes. Add the chicken broth and bring to a boil. Add the cream and then whisk in the polenta. Reduce the heat to a simmer, stirring constantly with a wooden spoon. Add the thyme and rosemary and continue to cook, stirring frequently, until the polenta is tender, creamy, and thick, 15 to 20 minutes. Remove from the heat and whisk in 1/4 cup of the cheese. Season to taste with salt and pepper.
Position a rack in the middle of the oven and heat the oven to 400° F. Line a large rimmed baking sheet with parchment paper. Halve the tomatoes lengthwise and hollow them out. Cut a very thin slice off the bottom of each tomato half so the filled tomato can lie flat without rolling. Arrange the tomatoes on the baking sheet and season them lightly with salt. Fill each tomato half with some of the polenta, mounding just slightly (depending on the size of your tomatoes, you may or may not use all the polenta). Sprinkle the remaining 2 Tbs. of cheese and the parsley over each. Bake until the tomatoes are soft, about 20 minutes. Let cool slightly before serving.
Cora’s 14 Months Old
Lil Miss is growing…way too fast.

Engaging Tomorrow’s Ag Youth
Long ago a young lady was chosen for a agricultural leadership program where she not only made lifelong friends, but made connections with ag leaders from around the state. This leadership program opened her eyes to the wealth of possibilities in the ag industry and this youngster developed a plan of action of how she would make her mark in ag.
The youngster was me and the program was the Missouri Agribusiness Academy (MAbA). I was a sophomore in high school and knew nothing, although I thought I knew everything.
MAbA helped my discover a facet of career options in agriculture available to me and presented me with numerous networking opportunities.
Through the years I have been asked to speak to the MAbA class almost every year about my job, passion and how these youngsters can make their positive mark in agriculture.
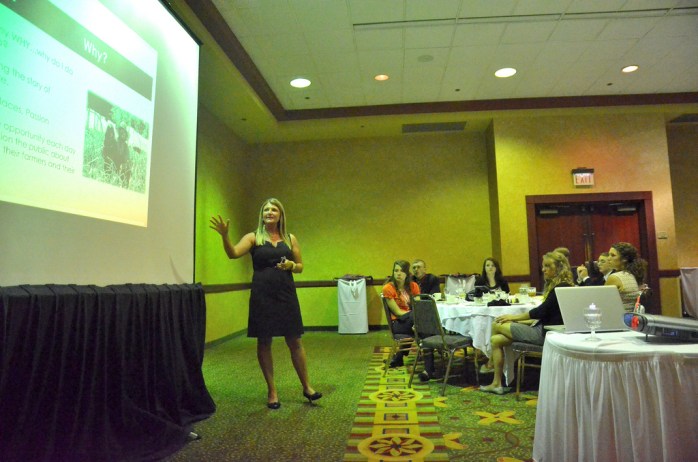
I spoke to the group once again in June and I found myself in a totally different realm than ever before. I was tenured, the mother of two children, a spouse for almost 10 years and well…older. What could I possibly have to say to these students anymore? I have nothing in common with them…or do I?
As I pondered for weeks on what I would say, my husband said one evening, “tell them who you are and how you got there.” That’s too simple…or was it?
I’ve listened and talked with many ag leaders throughout my young career and the questions I always asked them were the same: where did you start at and how did you get to where you are now?
My presentation to the 2013 MAbA class was simple: Find Your Passion and Give Back. I explained my route to the place I am now in my life. I’ve traveled a life with ups and downs, high and lows, big successes and bigger failures – BUT I came out on top because I followed my passion and I continue to give back. My passion: Telling the Story of Agriculture. Giving Back: to my family, to my community and to our future ag youth. It starts and ends with tomorrow’s youth. It’s as simple as that!
The Difference Between Boys and Girls…

The “pouty lip.” Cora has it down to a fine art and daddy and big brother Caston are wrapped around her little pinky. But, can you blame them?
Happy Birthday Cora
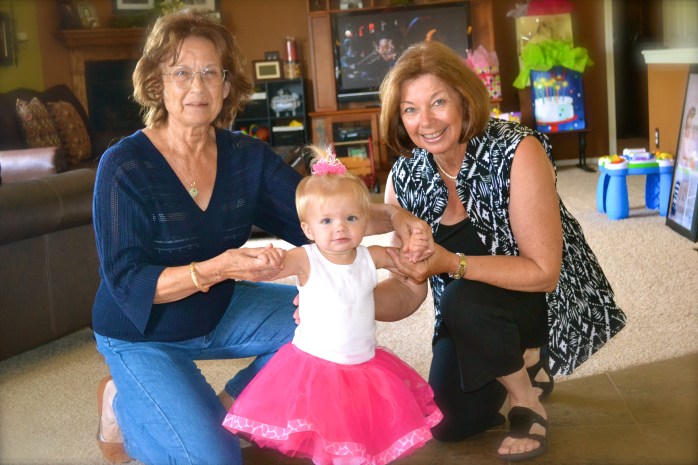
We recently celebrated Cora’s One Year Birthday and it was a “Pretty in Pink” affair. Here the birthday girl is enjoying being pampered by Nanny McConnell and NaNa Baldwin.
